[ad_1]
Filled with a wide range of fillings and flavors, Onigiri, or Japanese Rice Balls, make a perfect fast snack and a enjoyable different to sandwiches for lunch. On this recipe, you‘ll learn to make onigiri utilizing widespread components for rice balls in Japan.
Onigiri (おにぎり), typically referred to as Omusubi (おむすび), are Japanese rice balls. They’re what I name the magical meals of the Japanese. Tender, toothsome rice made moveable, they’re the traditional consolation meals for picnics (particularly in the course of the cherry blossom viewing), bento lunch packing containers, fast grab-and-go snacks, mountaineering journeys, film snacks, and so on.
Rising up in Japan, I’ve the fondest recollections of serving to my mother form freshly cooked rice into triangles and pack them neatly into my bento packing containers earlier than operating off to high school.
What’s Onigiri (Omusubi)?
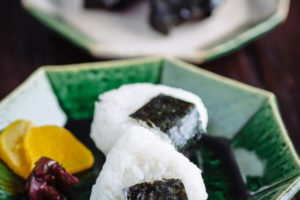
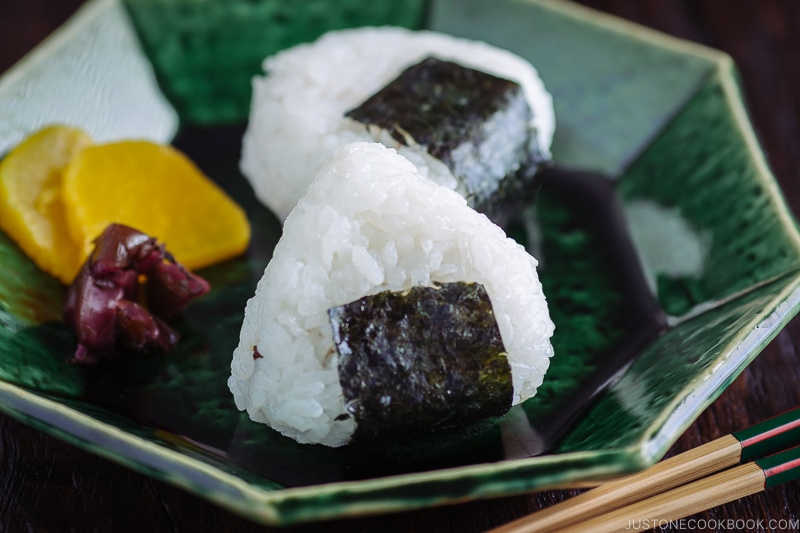
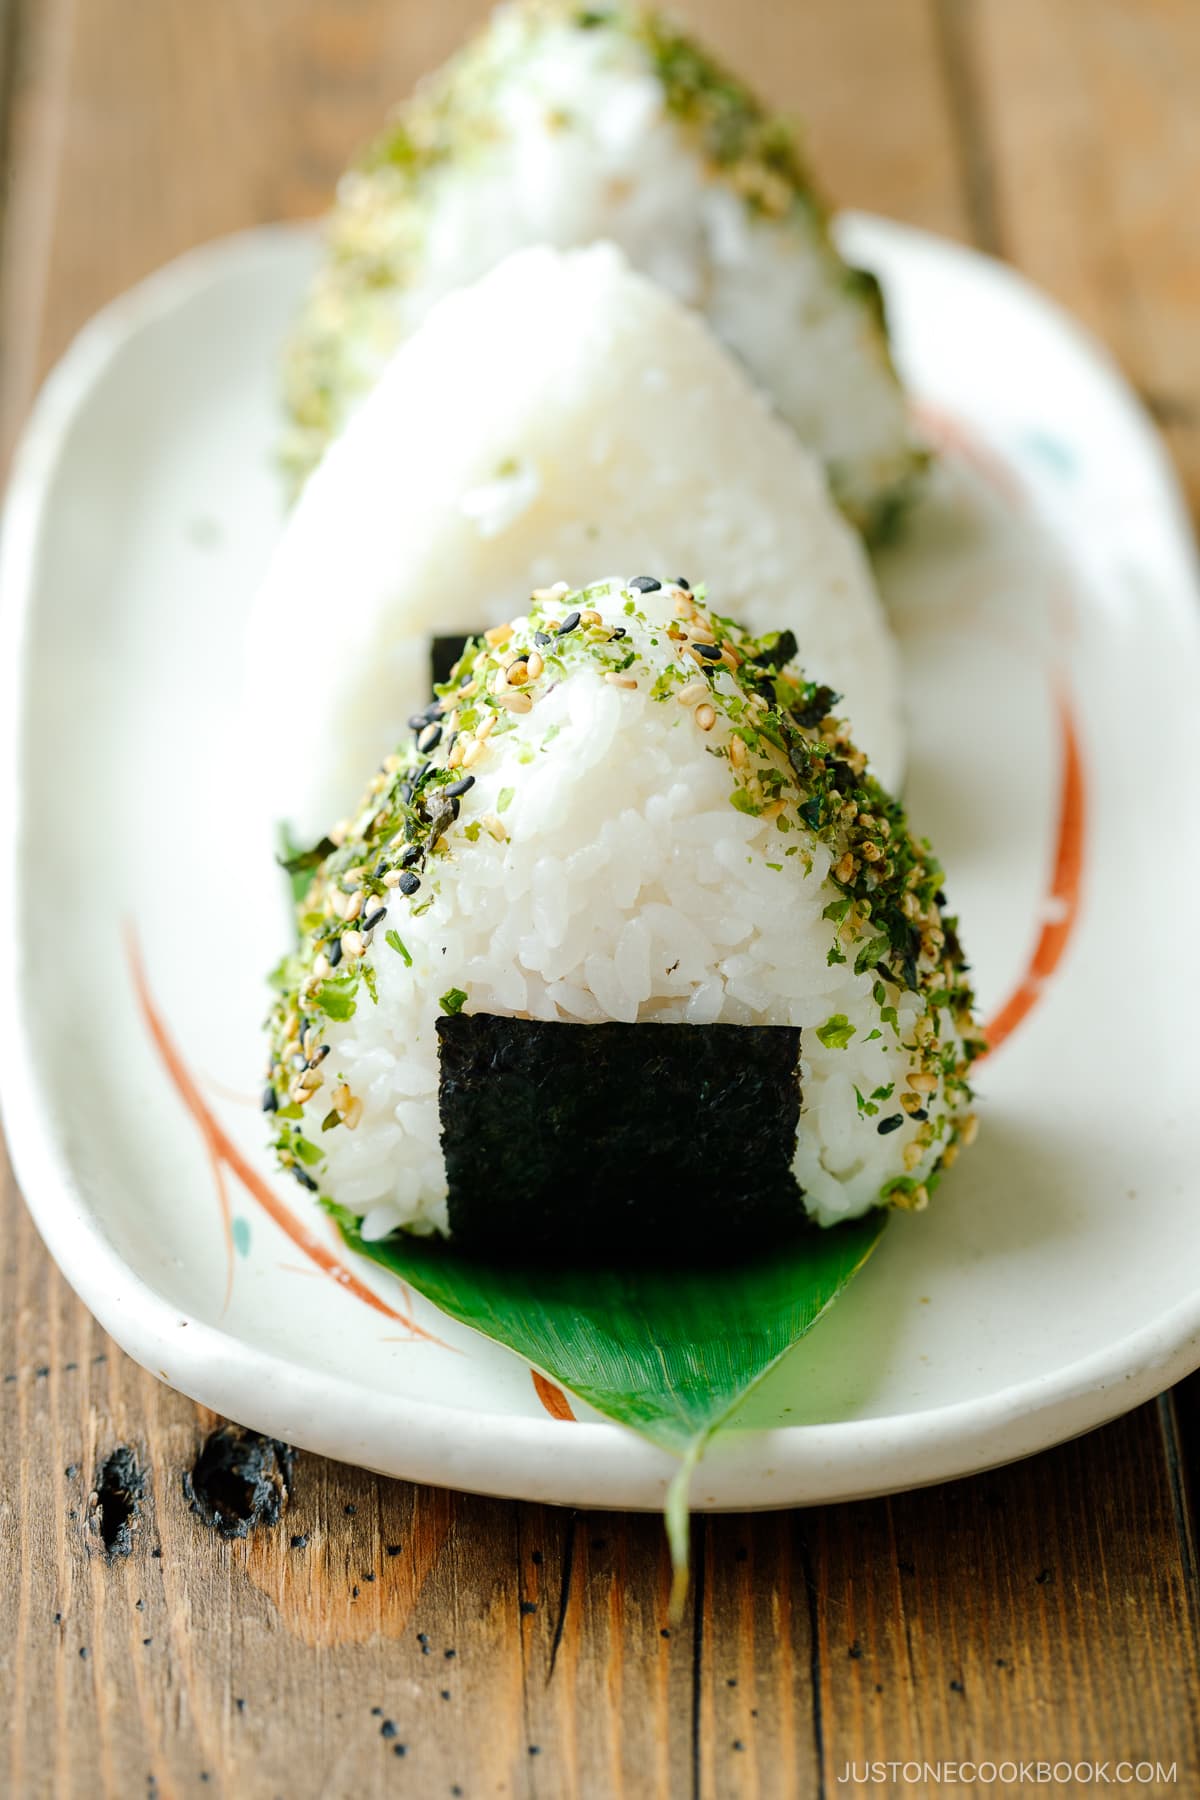
Onigiri (おにぎり) are Japanese rice balls product of steamed rice that you just compress right into a triangular, ball, or cylinder form and are normally wrapped in a nori seaweed sheet. You’ll be able to taste them flippantly with simply salt or add a wide range of fillings.
Are Onigiri, Omusubi, and Nigirimeshi the Identical?
The phrase “onigiri” is extra generally used all through Japan, however it’s also referred to as nigirimeshi (握り飯) or omusubi (おむすび).
Is Onigiri Sushi?
For the uninitiated, onigiri is usually misunderstood as a sort of sushi however they aren’t.
One of many key variations between onigiri and sushi is that onigiri begins from a base of plain steamed rice, whereas sushi is product of Sushi Rice (steamed rice seasoned with vinegar, salt, and sugar).
👉🏻 See extra particulars in How To Prepare dinner Japanese Rice and How To Make Sushi Rice.
When to Eat Onigiri
Adored by all ages, onigiri show their significance and recognition in Japanese on a regular basis lives. We make rice balls for college and work lunches and for a lot of outside actions and occasions.
In some methods, they’re the Japanese thought of power bars. We snack on onigiri after we want a fast increase of power and sustenance.
The place to Get Onigiri
Exterior of the house, you’ll be able to actually discover rice balls in every single place in Japan: konbini comfort shops, airports, cute cafes, and specialty shops.
Right here within the US, you’ll find them at Japanese grocery shops.
Onigiri’s Historical past and Its Function in Japanese Tradition
Deemed because the very first touring meals, onigiri have been invented earlier than the existence of refrigeration as a method to protect contemporary rice longer so it could possibly be introduced alongside to feed vacationers, samurai, troopers on the street, or farmers within the farm fields.
The tactic was to fill the rice with a salty or bitter ingredient as pure preservatives and flippantly compact them into moveable meals that may be carried alongside and eaten with arms. To maintain the rice secure, salt was first utilized in making the onigiri.
At this time you’ll find these rice balls in so many types and kinds, however the fundamentals of creating onigiri stay the identical.
Should you’re an anime or manga (Japanese comics) fan, you have got almost definitely seen onigiri present up in lots of storylines of those cultural outputs. Probably the most memorable look must be in a scene in Spirited Away, the place a boy named Haku provides Chihiro, the primary character, some onigiri within the hope of comforting her. Because the younger woman took a chew of the rice ball, tears began rolling down her cheeks. It tells the highly effective connection between meals and residential and the feelings concerned. As you’ll be able to see, onigiri means loads to the Japanese.
Make Onigiri
The Components You’ll Want
For essentially the most fundamental and comforting onigiri, you’ll want solely 2 components. That’s proper! All you want is cooked rice and good high quality nori seaweed.
- Japanese Quick-Grain Rice – Generally labeled as sushi rice outdoors of Japan, Japanese short-grain rice is the rice that we use in most Japanese cooking. It provides you the right chewy, tender, and barely sticky texture. I personally advocate Koshihikari. Please don’t substitute it with jasmine or every other kinds of rice as they’ll collapse. Want to study extra about Japanese rice? Learn this submit.
- Nori Seaweed – This is similar seaweed wrapper that we use to wrap sushi. Yow will discover it at Japanese/Asian grocers, well-stocked grocery shops, or on-line.
- Non-compulsory Fillings – We’ll talk about them under.
The Cooking Steps
- Prepare dinner short-grain rice with a rice cooker, pot over the range, Immediate Pot, or donabe.
- Utilizing a mildew or your arms, make rice balls. Don’t neglect to salt rice balls for meals security. Fillings are non-obligatory and I share how you can stuff rice balls with a filling within the recipe card.
- Wrap the rice ball with nori seaweed.
Onigiri Filling
Sure, you’ll be able to fill onigiri with no matter your coronary heart needs, however I’ll share with you a few of the most typical fillings for onigiri in Japan.
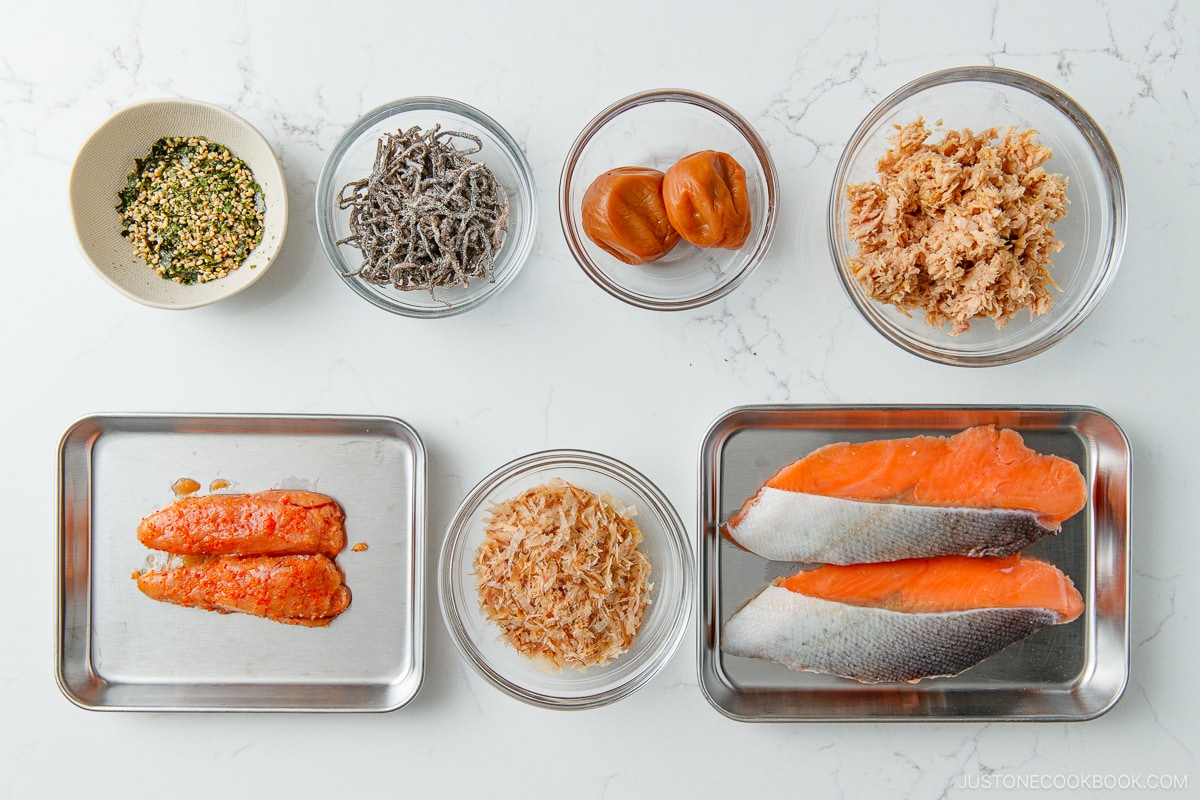
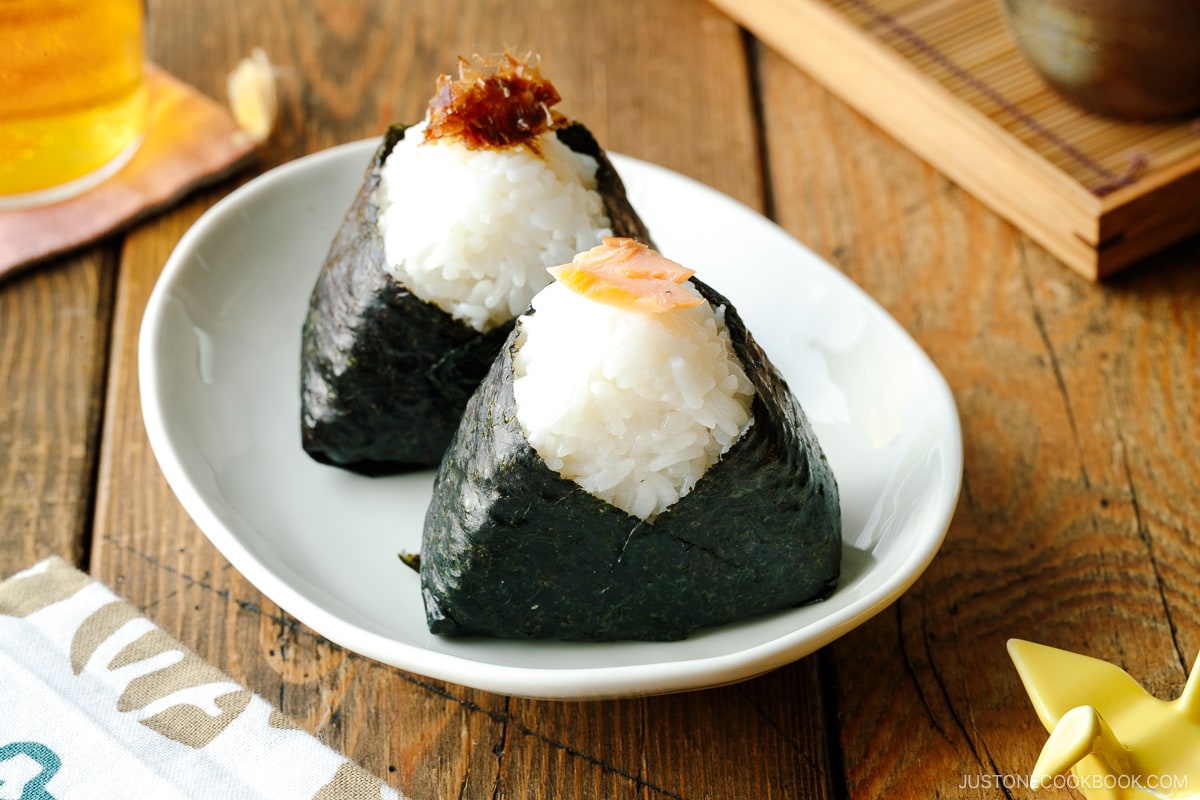
- shake [pronounced as sha-keh] (salted salmon)
- umeboshi (Japanese pickled plum)
- okaka (bonito flakes moistened with soy sauce)
- kombu (simmered kombu seaweed)
- tuna mayo (canned tuna with Japanese mayonnaise)
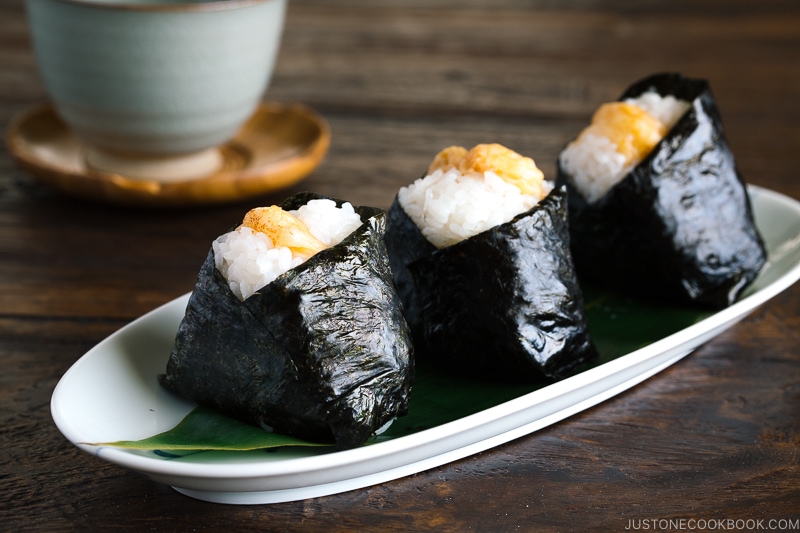
- mentaiko or tarako ((spicy) salted cod roe)
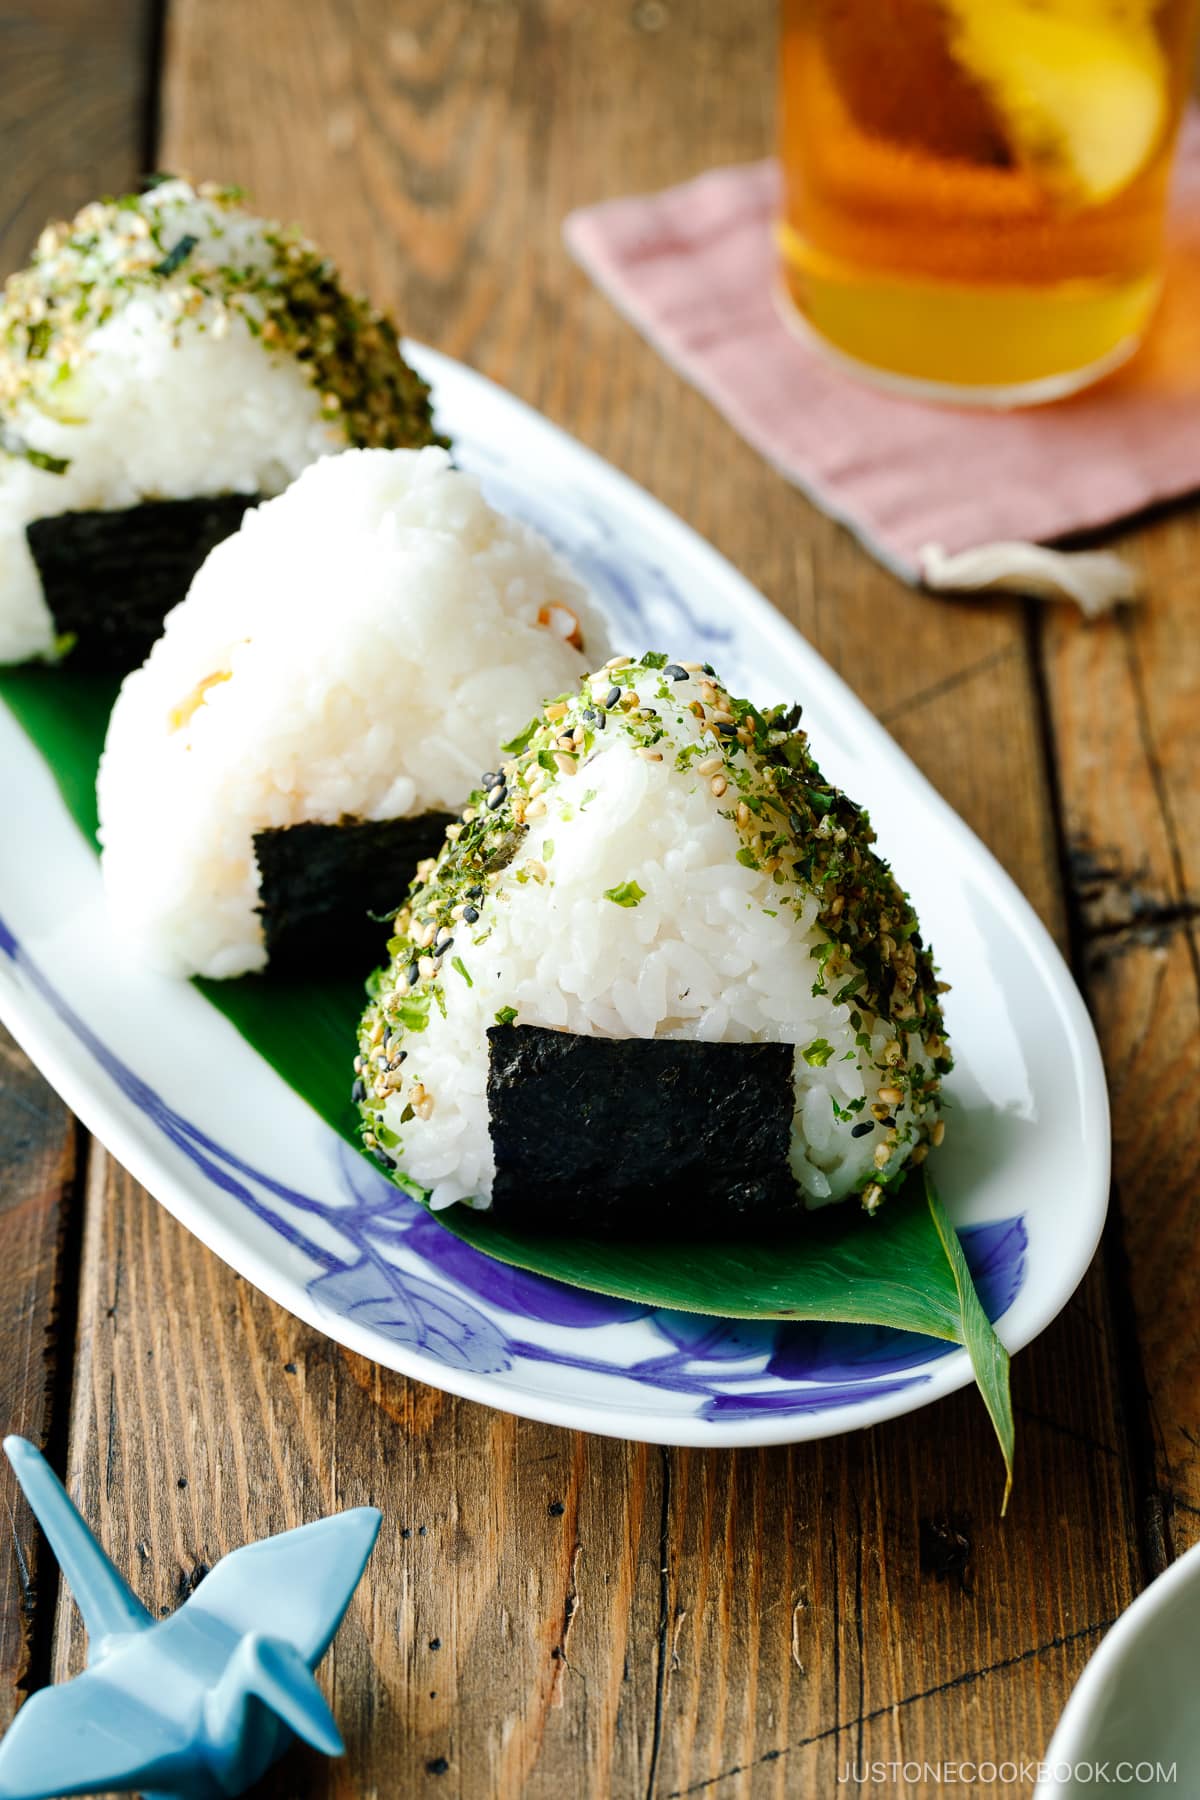
- furikake (rice seasonings to sprinkle throughout)
Now if you’re able to get inventive, look no additional than your dinner leftovers. I’ve used my leftovers from Rooster Karaage and Shrimp Tempura to fill my onigiri. As an alternative of plain steamed rice, you may as well use Takikomi Gohan (blended rice) or Corn Rice.
Onigiri Shapes and Mildew
You can also make many alternative shapes of onigiri, and the most typical ones are:
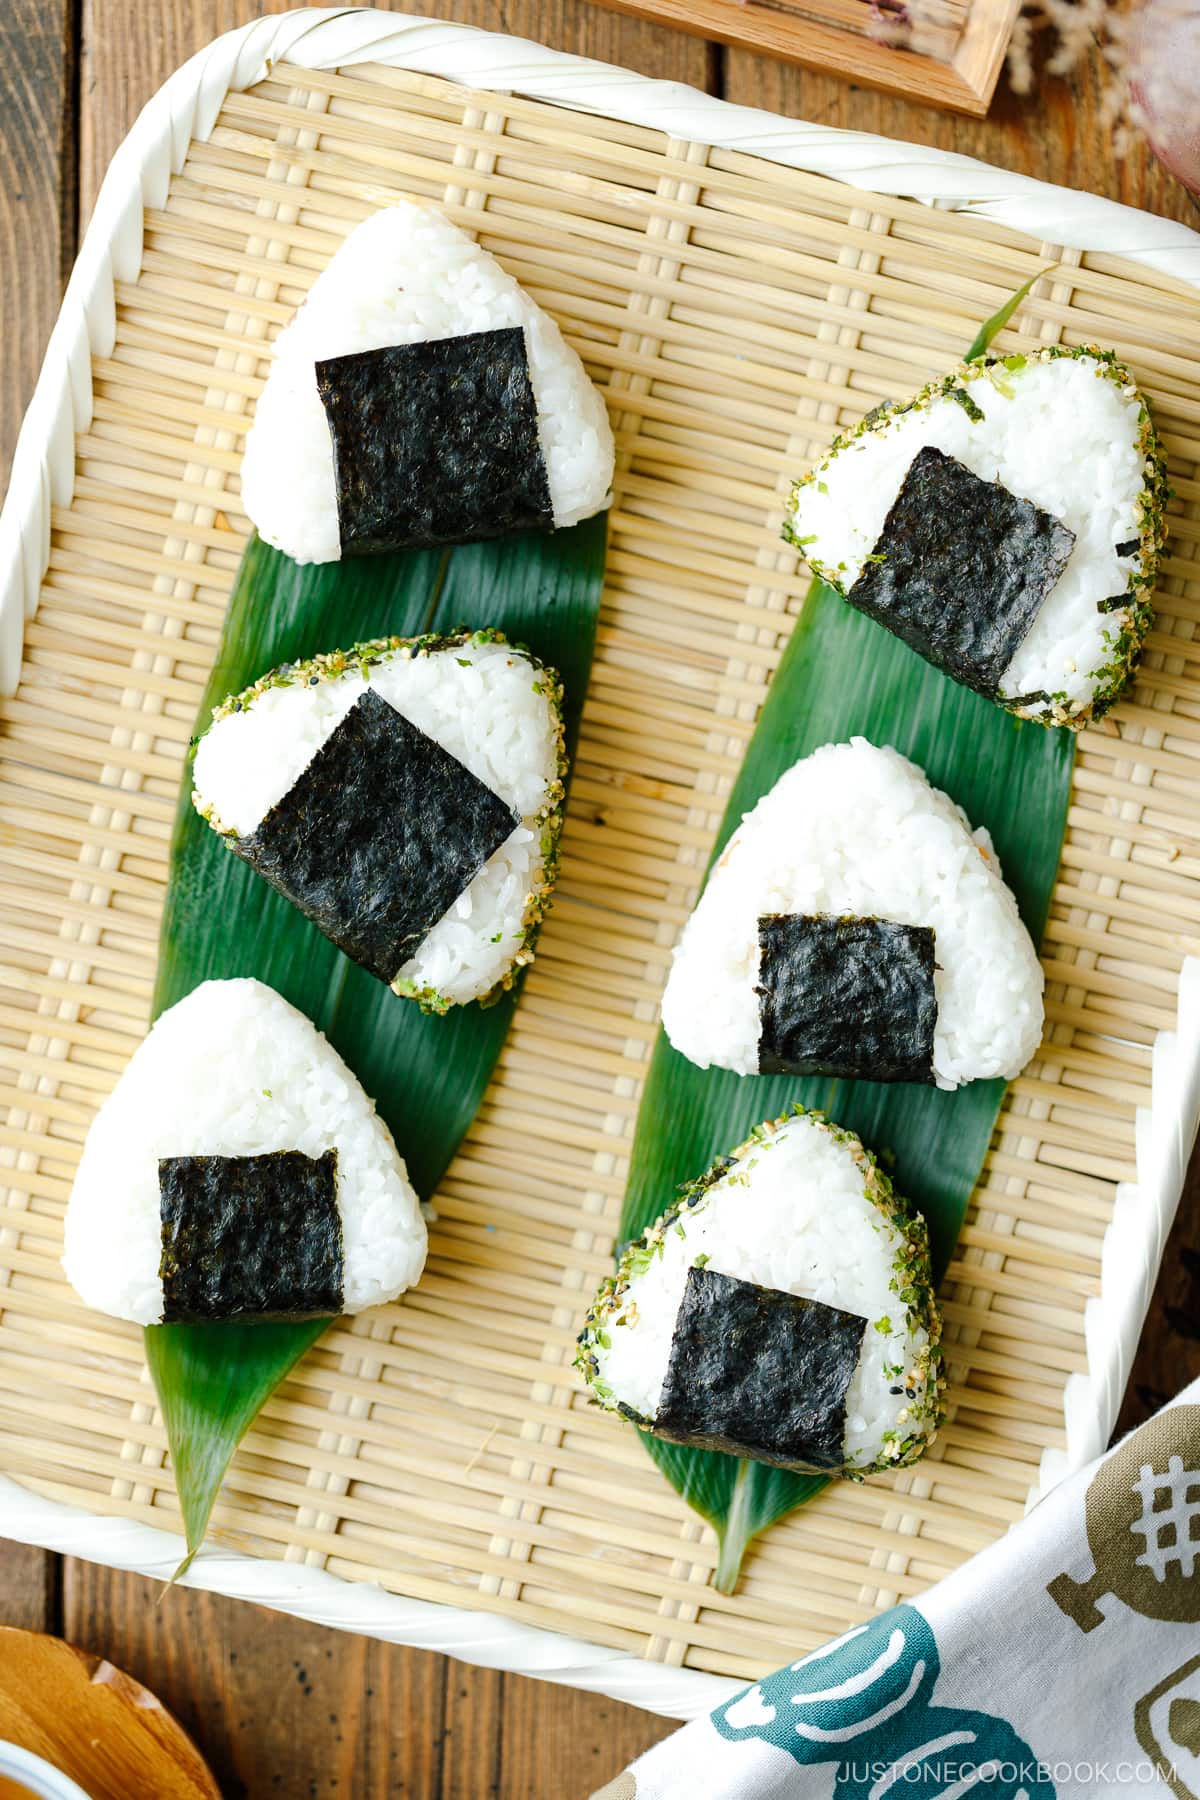
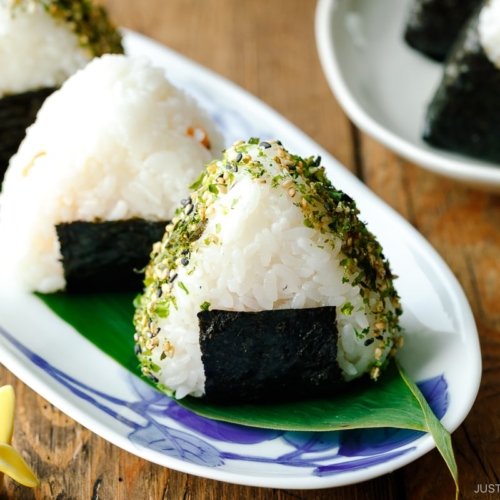
- Triangular
- Cylindrical (form of rice bale)
- Spherical/round
- Cylindrical
- Inventive – Some house cooks even take their onigiri to a different excessive trend stage by shaping the rice balls into so many cute animals or character-based shapes!
On this up to date recipe submit, I used an onigiri mildew to display how you can use it. I discover it simpler to portion every onigiri utilizing the mildew.
Onigiri Variations
We additionally get pleasure from onigiri in these widespread variations:
Nori Wrapping
There are alternative ways to wrap the nori across the rice balls. You’ll be able to reduce a sheet of nori into skinny strips and wrap the nori across the cylindrical or triangular rice ball form (that is extra like a ornament).
You can too reduce the nori sheet in thirds and wrap the rice ball with the nori.
Some desire to wrap the rice balls when they’re heat so the nori will stick with the rice (however will probably be soggy/moist) however most individuals desire to maintain the nori as crisp as doable.
You should purchase this onigiri plastic wrapper that permits you to preserve the nori crispy till you’re able to eat (much like Japanese comfort store-style onigiri).
Cooking Suggestions
- Use freshly cooked rice. I strongly advocate utilizing freshly cooked rice as a substitute of older rice if you make onigiri. Switch the cooked rice to a big bowl, baking sheet, or sushi oke (hangiri). Let cool barely. The rice must be heat when making onigiri.
- Moist and salt your arms. It’s vital to moist your arms with water to forestall the rice from sticking. Put together a bowl of water subsequent to your working station. Salt each your arms and rub to unfold throughout. Salting helps to taste and to protect the onigiri for an extended time.
- Give simply sufficient stress. Your arms must be simply agency sufficient when urgent the onigiri so the rice doesn’t collapse if you form them. You don’t wish to squeeze the rice too tight. You rotate the rice balls each time you give mild stress. After rotating 3-5 occasions, the rice ball must be in good condition.
- Determine your rice ball with a filling. Should you add a filling, make sure that to put a small quantity of the filling on the rice ball (equivalent to on the tip of the triangle form) so you’ll be able to establish which filling is inside.
- Maintain the rice and rice balls coated with a plastic or a moist towel so the rice won’t dry out shortly.
- Wrap the nori proper earlier than you serve, in case you like your nori to be crispy. Some onigiri retailers promote onigiri that has nori wrapped round it already. We get pleasure from each types, so it’s as much as your desire.
Frequent Requested Questions
Why does my nori get soggy and moist?
Nori will get soggy as quickly because it absorbs moisture. Should you desire crispy nori on your onigiri, I like to recommend wrapping the nori proper earlier than you eat. Be certain that the nori is saved in a resealable bag to keep away from getting stale.
Why does my nori get gummy?
I like to recommend getting higher high quality nori, ideally imported from Japan. It’s very unlucky however most nori out there in grocery shops right here will not be flavorful and the feel tends to get gummy when moist/moist. I all the time get imported nori from Japan (I normally choose the costliest nori at Nijiya Market) and it’s fairly good. We will get higher high quality nori in Japan at an honest value, however not outdoors of Japan but.
Do I’ve to make onigiri proper earlier than I pack for lunch?
If you wish to make onigiri for lunch the subsequent day however don’t wish to get up early, right here’s my tip. You’ll be able to wrap the completed onigiri (in plastic wrap) with a thick kitchen towel. The kitchen towel protects the rice balls from being too chilly within the fridge. Rice will get exhausting within the fridge however with this straightforward trick, your onigiri might be cool sufficient to remain secure.
Do you serve onigiri chilly?
You’ll be able to get pleasure from onigiri heat or at room temperature, so that they’re good in your lunchbox or as a moveable snack on the go. You’ll be able to even plate them up as a tasty appetizer!
Do you assume I can contain my youngsters in making rice balls?
Sure! One of the best half about making onigiri at house is you’ll be able to all the time have interaction your little ones as their ‘craft day within the kitchen.’ Make it enjoyable and fulfilling! You should utilize this onigiri mildew to make it simpler to create a triangle form.
Like all the things else, apply makes good with regards to making onigiri. For a visible information, you’ll be able to watch my video and see the step-by-step directions under.
Extra Onigiri Recipes You’ll Get pleasure from
 おにぎり • Simply One Cookbook")
Want to study extra about Japanese cooking? Join our free publication to obtain cooking suggestions & recipe updates! And keep in contact with me on Fb, Pinterest, YouTube, and Instagram.
Onigiri (Japanese Rice Balls)
Filled with a wide range of fillings and flavors, Onigiri or Japanese Rice Balls make a perfect, fast snack and a enjoyable different to sandwiches for lunch. On this recipe, you‘ll learn to make these onigiri utilizing widespread fillings for rice balls in Japan.
Servings: 9 onigiri (13 with a mildew)
Components
For the Japanese Salted Salmon Filling (fast model)
For the Tuna Mayo Filling
Forestall your display from going darkish
Directions
To Put together the Steamed Rice
-
To measure 2¼ cups raw Japanese short-grain white rice, overfill a US cup measure (a ¾-cup measure works properly for this) or a rice cooker cup with raw short-grain rice and stage it off. Put the rice in a big bowl. Repeat till you have got the quantity of rice you want. Tip: Please word that 2¼ cups (450 g, 3 rice cooker cups) of raw Japanese short-grain rice yield 6⅔ cups (990 g) of cooked white rice. That is sufficient for 9 onigiri rice balls (usually 110 g every). One cup of cooked white rice weighs about 5.3 oz (150 g).
-
Subsequent, rinse and wash the short-grain white rice and prepare dinner it with a rice cooker, pot over a range, Immediate Pot, or donabe. Please comply with the detailed directions in any one in every of these posts for how you can rinse and prepare dinner the rice. Right here, I‘m including 2½ cups water to the drained rice in a rice cooker. Tip: The rice-to-water ratio is 1 to 1.1 (or 1.2) for Japanese short-grain white rice. This rice requires a soaking time of 20–half-hour. Please learn this weblog submit for an in depth clarification.
To Put together the Onigiri Fillings
To Form the Onigiri
-
Collect all of the components to make the onigiri and a bowl full of water on your arms. If you’re shaping the onigiri along with your arms, switch the freshly cooked rice to a big bowl, baking sheet, or sushi oke (hangiri) and let it cool barely till it‘s cool sufficient to deal with. The rice must be heat when making onigiri.
Methodology 1: With an Onigiri Mildew
-
Put together one other bowl full of water. Soak the onigiri mildew and lid within the water to moisten so the rice doesn‘t stick with it. Take away the mildew and drain the surplus water. Subsequent, sprinkle salt within the moistened mildew. Salt is used not just for seasoning but additionally for meals security.
-
Fill it midway with heat rice, ensuring the rice is stuffed to the corners. Add a spoonful of your filling of alternative.
-
Fill the remainder of the mildew with extra rice, all the best way to the sides. Sprinkle the highest of the rice with extra salt.
-
Cowl with the lid and push down firmly. It is best to really feel a slight resistance to it; if not, it’s possible you’ll wish to add a bit extra rice. Take away the lid, flip the mildew over, and push the “button” to launch your onigiri onto a baking sheet or plate lined with parchment paper. Repeat with the remaining rice. Tip: At all times dip your fingers in water earlier than touching the onigiri to forestall the rice from sticking to your fingers.
Methodology 2: With Your Arms
-
First, moist each of your palms with a little bit of water to forestall the rice from sticking to your arms. Then, apply some Diamond Crystal kosher salt and unfold it on each palms. How a lot salt? I dip 2–3 fingers within the kosher salt, as pictured under. If you’re utilizing desk salt, use half the quantity because it’s saltier than kosher salt.
-
Scoop a handful (about ⅓ cup, 50 g) of barely cooled however nonetheless sizzling rice onto your left (non-dominant) hand. Tip: Your left hand holds the rice ball and flattens the onigiri’s sides. At all times preserve it beneath the onigiri. Create a small properly (indentation) within the heart of the rice. Add 1–2 tsp of 1 form of filling inside.
-
Scoop some extra rice (one other ⅓ cup, 50 g) to cowl your filling fully. Mildew the rice along with your arms and gently press the rice across the filling to type the rice right into a ball.
-
Bend your proper (dominant) hand barely to type a “mountain” form and place it on high of the rice. Your proper hand kinds the triangle corners of the onigiri. At all times preserve it on high of the rice ball.Gently press the rice along with your high hand to make a triangle nook. Tip: Make your arms simply agency sufficient so the onigiri doesn’t collapse, however don’t squeeze too tightly. Attempt to preserve the density of the rice ball as ethereal as doable.On the identical time, squeeze the fingers and heel of your backside (left) hand on both facet of the onigiri to softly press the perimeters flat.Now, rotate the triangle nook you simply made towards you. I take advantage of a single upward movement to barely toss the rice ball in my backside hand whereas I take advantage of my high hand to rotate it towards me clockwise (since I’m right-handed). The primary nook will now level at you whereas the tip of the second nook factors up.Repeat the “press and rotate” steps to type the second and third triangle corners. Then press and rotate 2–3 extra occasions to complete shaping the triangle.
-
Flip the rice ball on its facet and press gently to flatten one facet; repeat on the opposite facet. Then, press and rotate one final time. Switch to a baking sheet or plate lined with parchment paper. Repeat with the remaining rice.
Methodology 3: Utilizing Plastic Wrap
-
Should you don‘t wish to contact the rice along with your naked arms, you need to use this methodology. Additionally, use this methodology if you find yourself packing onigiri for lunch. Place a chunk of plastic wrap in a rice bowl (or any small bowl) and sprinkle some Diamond Crystal kosher salt (keep in mind, salt is used right here to protect the rice for a very long time).
-
Put the rice on high. Should you‘d like so as to add a filling, create a small properly (indentation) within the heart of the rice. Put one form of filling (about 1–2 tsp) inside.
-
Then, scoop some extra rice to cowl your filling fully and sprinkle some salt on high.
-
Collect the corners of the plastic wrap and twist the plastic a number of occasions to tighten it across the rice.
-
Kind the rice right into a triangle form in the identical method that I described above. Garnish with furikake and/or nori, if desired.
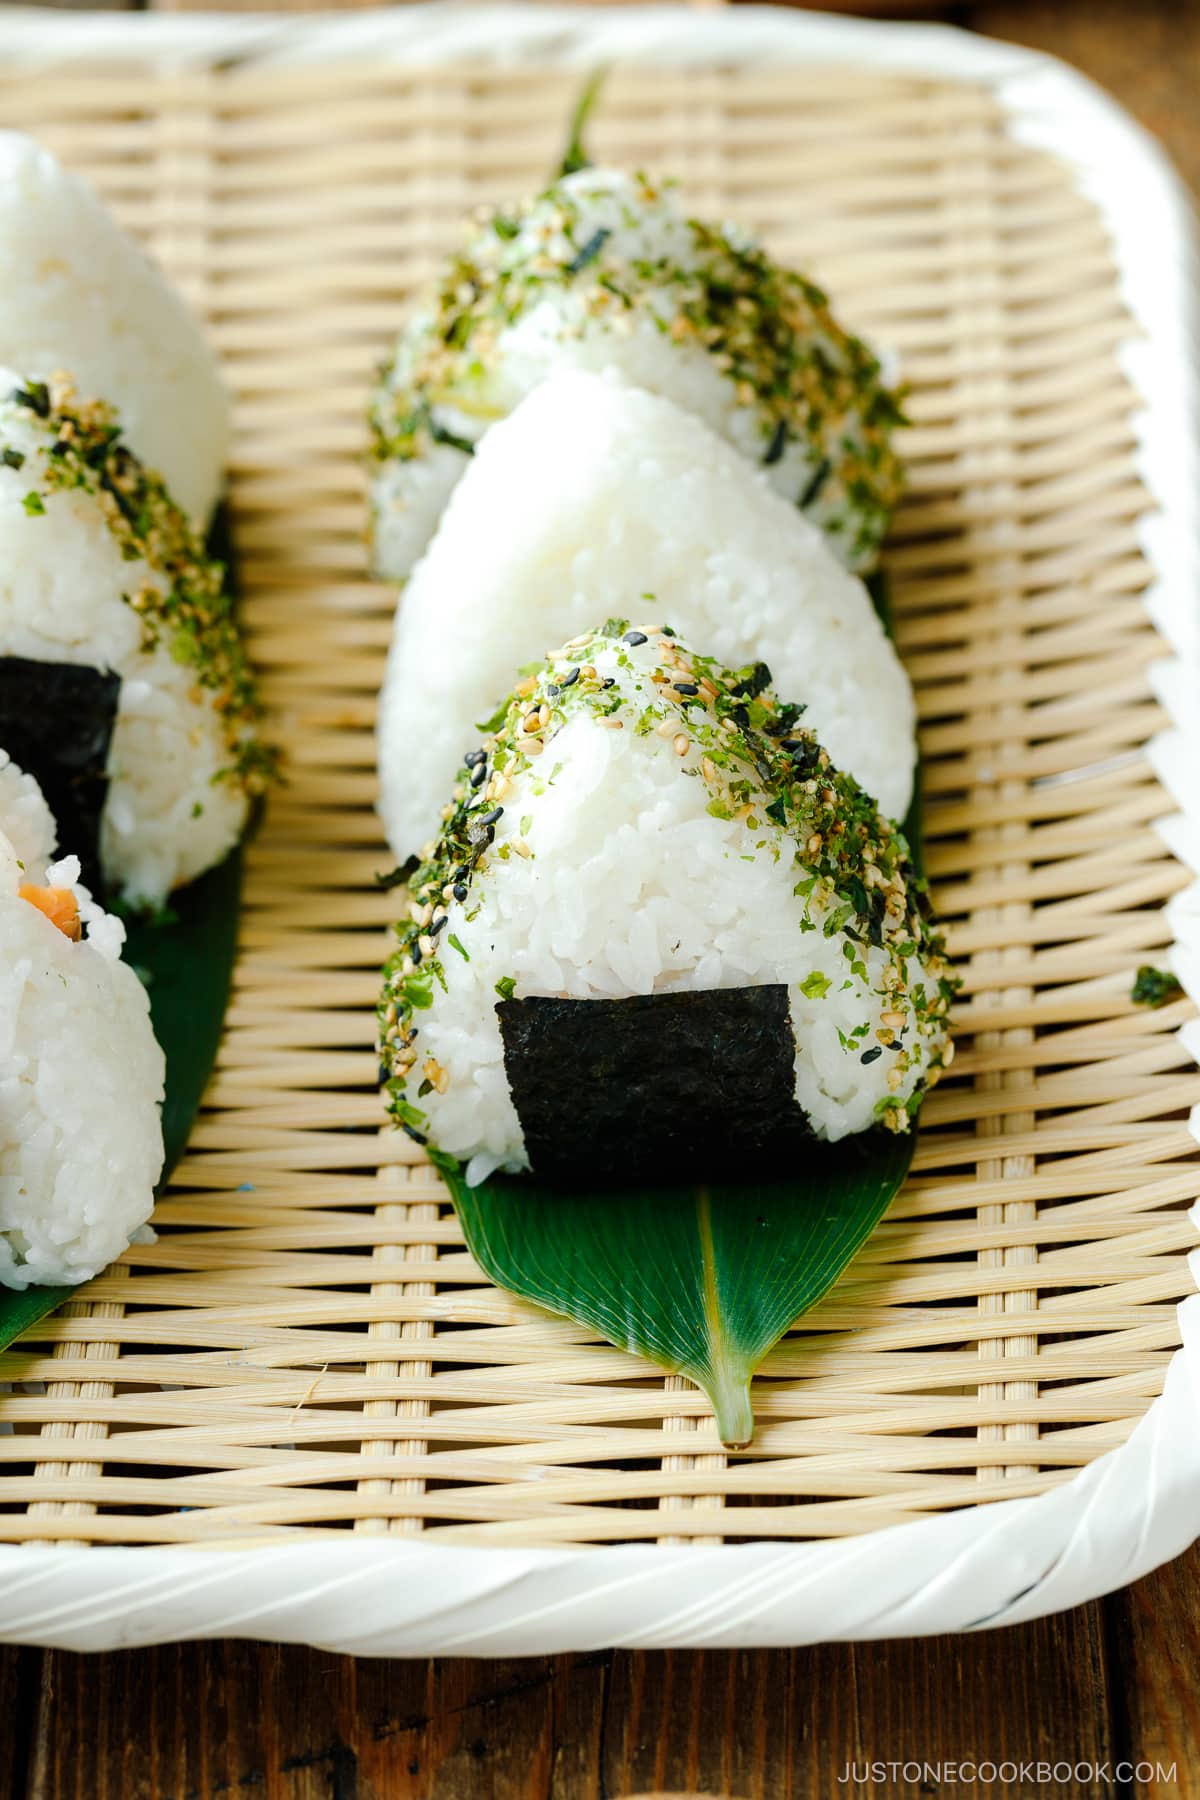
To Coat with the Furikake
-
Keep in mind, dip your fingers earlier than touching the onigiri to forestall the rice from sticking to your fingers.
-
Coat the three sides of the onigiri with furikake (rice seasoning).
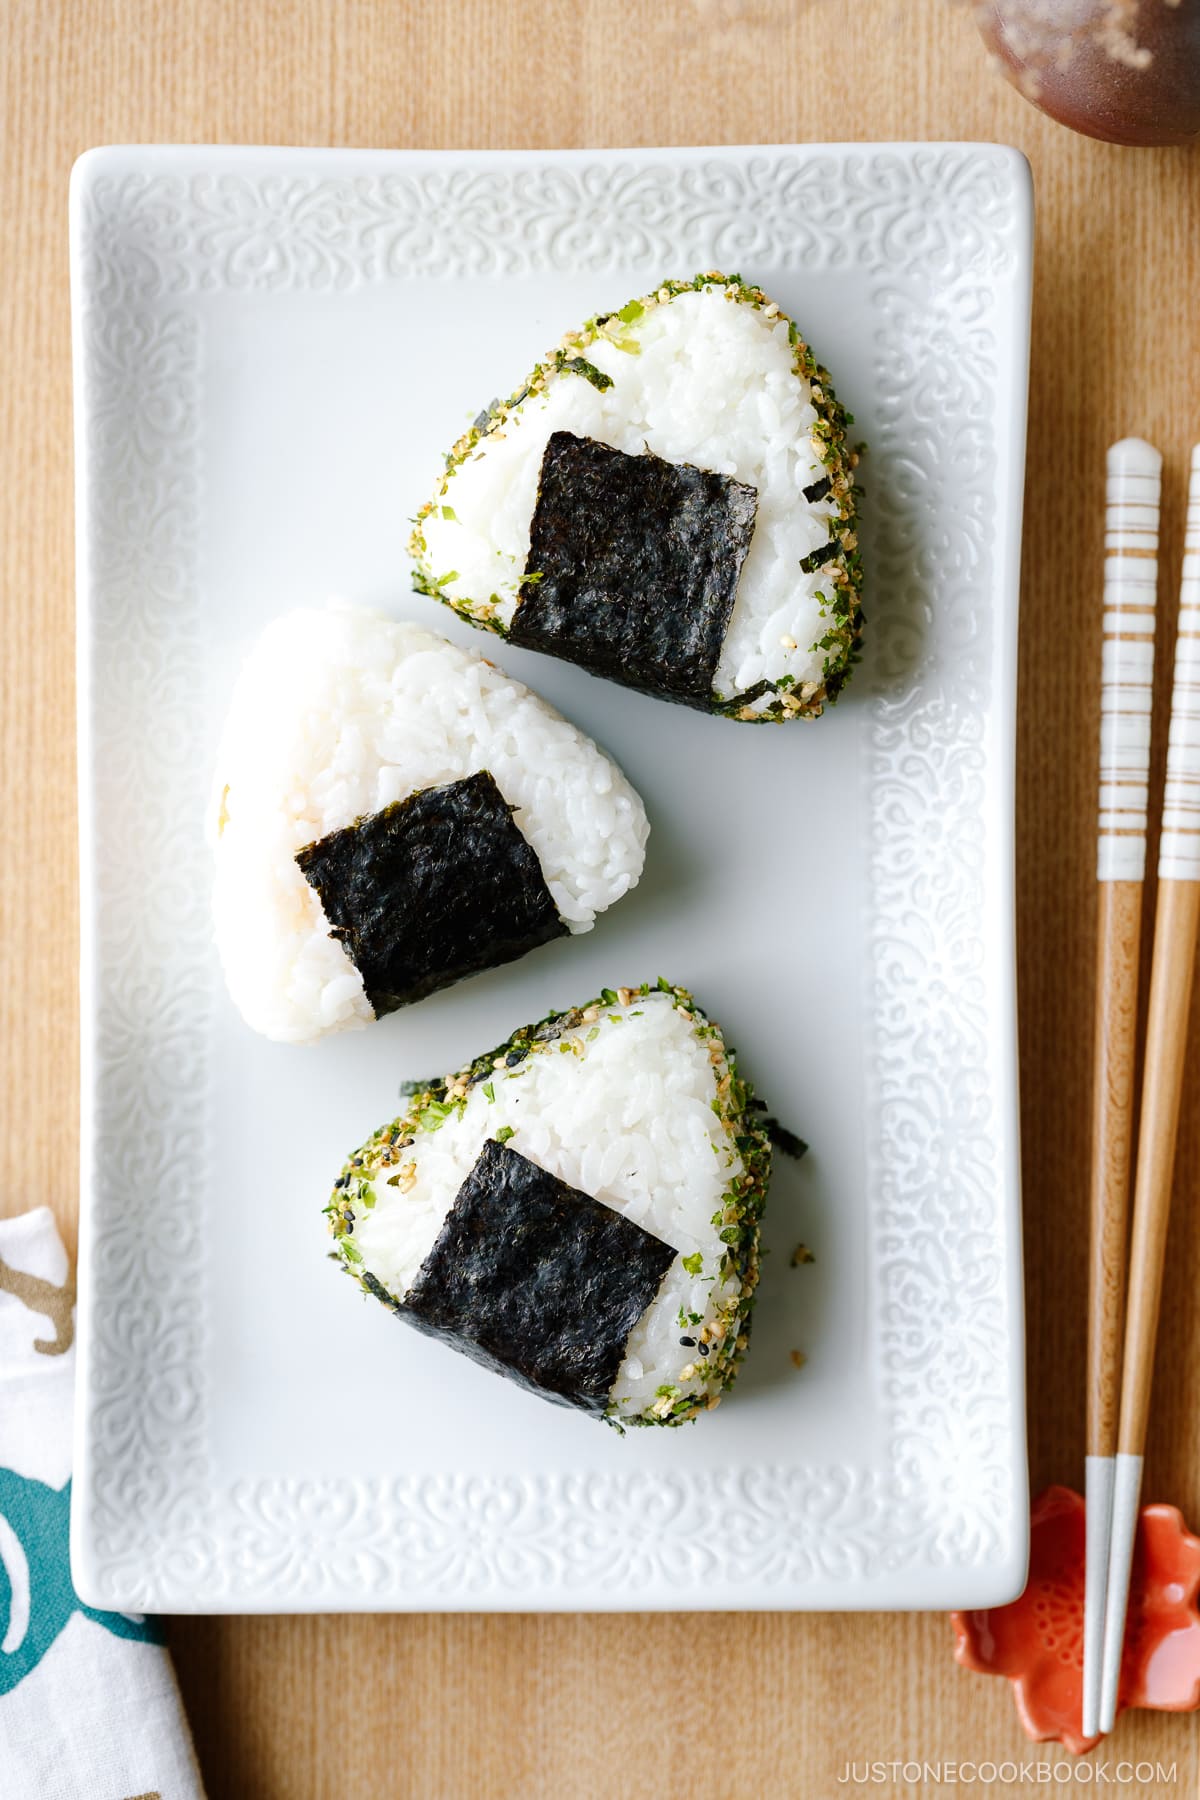
To Wrap with the Nori and Serve
-
Toast 3 sheets nori (dried laver seaweed) over an open flame one after the other.
-
Then, reduce them into thirds, parallel to the traces on the nori sheet.
-
Model A: Wrap a strip of nori on one facet of the onigiri. For this model, it’s possible you’ll want to chop the nori into shorter and narrower strips.
-
Benefit from the onigiri heat or at room temperature.
-
Model B: Wrap the onigiri with a chunk of nori seaweed. Should you like crispy nori, then wait to wrap the nori till proper earlier than consuming the onigiri. Be certain that to maintain the nori in an hermetic container or bag so it won’t get stale.
-
Place a little bit bit of every filling on the tip of the onigiri so you’ll be able to establish which filling is inside. Benefit from the onigiri heat or at room temperature.
To Retailer
-
Should you‘d wish to pack Onigiri on your lunch, preserve it cool and devour it inside 6 hours. Onigiri (or any rice dish) will get exhausting if you refrigerate it. The chilly air makes the rice dry and exhausting. I don‘t advocate making onigiri too far forward of time. But when you really want to, my trick is to wrap the onigiri with thick kitchen towels and retailer it within the fridge. The onigiri might be cool and secure however mustn’t get chilly.
-
In case your onigiri has dried out a bit, you’ll be able to grill it in a frying pan and baste it with soy sauce to make Yaki Onigiri.
Diet
Diet Info
Onigiri (Japanese Rice Balls)
Quantity per Serving
% Each day Worth*
* P.c Each day Values are primarily based on a 2000 calorie weight loss plan.
Editor’s Observe: The submit was initially printed on September 5, 2012. It was republished with extra useful content material and new step-by-step and closing photographs on September 10, 2023.
[ad_2]